

A long time ago, in a kitchen far away, I made a batch of scones.
Since then, I have been dubbed “The Scone Queen.” Friends and family members regularly muse about them, tell strangers about them, and request that I make them for a party, tea, or ordinary Saturday morning.
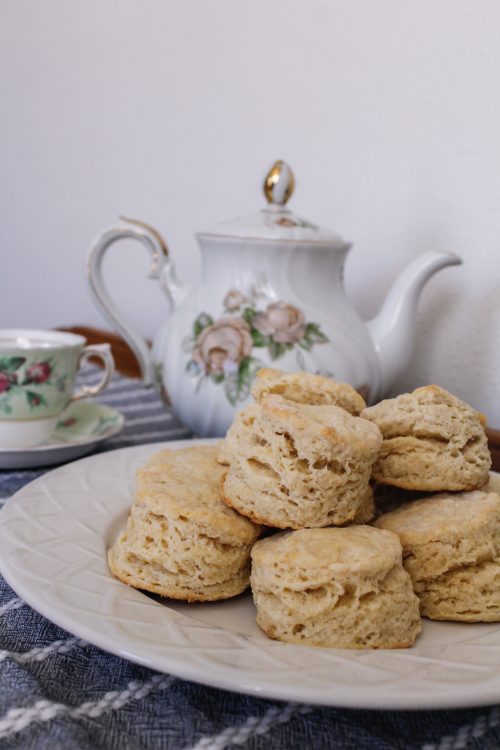
Needless to say, they’re quite good.
Now I’m going to do something strange: I’m going to share the recipe with you, so you can be Scone Royalty, too. This is partly to my advantage, though. If more people know how to make them, I won’t be relied upon. I won’t be needed anymore. I can just make scones when I want to make scones. What a wonderful thing!
This recipe is great because it is extremely versatile. It can be made plain and adorned with jam, clotted cream, and lemon curd (make your own or buy it), or just plain butter. It can be made with vanilla and chocolate chips, or lemon zest and blueberries, or (my own special concoction) gingerbread spices and white chocolate chips. Really, it can be tweaked any way you like, as long as you don’t alter the dry-liquid ratio of the recipe too much.

Some Helpful Hints
Here are a few tips and tricks to remember as you make them:
- The butter must be cold, and it must be cut in to the dough. This is what makes the scones so deliciously flaky.

2. The dough must be rolled out and cut with a biscuit cutter or the rim of a glass. If you simply roll the dough in your hands like drop biscuits, it won’t have those nice layers.

3. You must cook them until the bottoms are medium-brown and the tops are beginning to turn golden-brown. Under-baked and over-baked scones are equally appalling!

4. If you add blueberries, keep in mind that they will increase the moisture of the dough. The scones won’t get quite as fluffy, but they will still be delicious.

5. These can be made as large or mini scones, depending on your preference. Just remember to check a batch of mini scones ten minutes into baking time to make sure they don’t burn! If you do make minis, roll them out a little flatter, or they will start to topple when rising in the oven.

6. Using parchment paper or a silicone mat isn’t necessary because of the butter content in the scones. Trust me—they won’t stick!

7. Be careful where you bring these. You may develop a reputation. You may become—the Scone Queen (or King).

My World Famous (Almost) Scone Recipe
Course: Breakfast, SnacksDifficulty: Easy8-24
servings15
minutes12
minutesIngredients
2 cups all-purpose flour
1 tablespoon baking powder
1/2 teaspoon salt
1/4 cup sugar
1/3 cup butter (cold, cut into chunks)
1 cup heavy whipping cream, half-n-half, or whole milk
1 teaspoon almond extract
Directions
- Preheat oven to 375.
- Mix dry ingredients (including sugar) in a large bowl.
- Add butter and cut in with a pastry blender, fork, or your fingers until it resembles crumbs the size of a pea.
- Add cream and almond extract together and knead well, until your dough is well-combined and easy to roll out.
- Using a rolling pin, roll it to about ¾ of an inch.
- Cut dough into circles with a biscuit cutter or the rim of a glass. Once you can’t cut any more, knead the dough and roll it out again.
- Bake on a nonstick pan or baking stone for about 12 min, or until tops are golden brown. Enjoy with butter and jam.
These are sooo yummy! Have you ever tried adding chocolate chips?
Hello Julianne! Yes, I have tried adding 1 cup of chocolate chips and substituting vanilla for almond extract–it is soooo delicious!!