
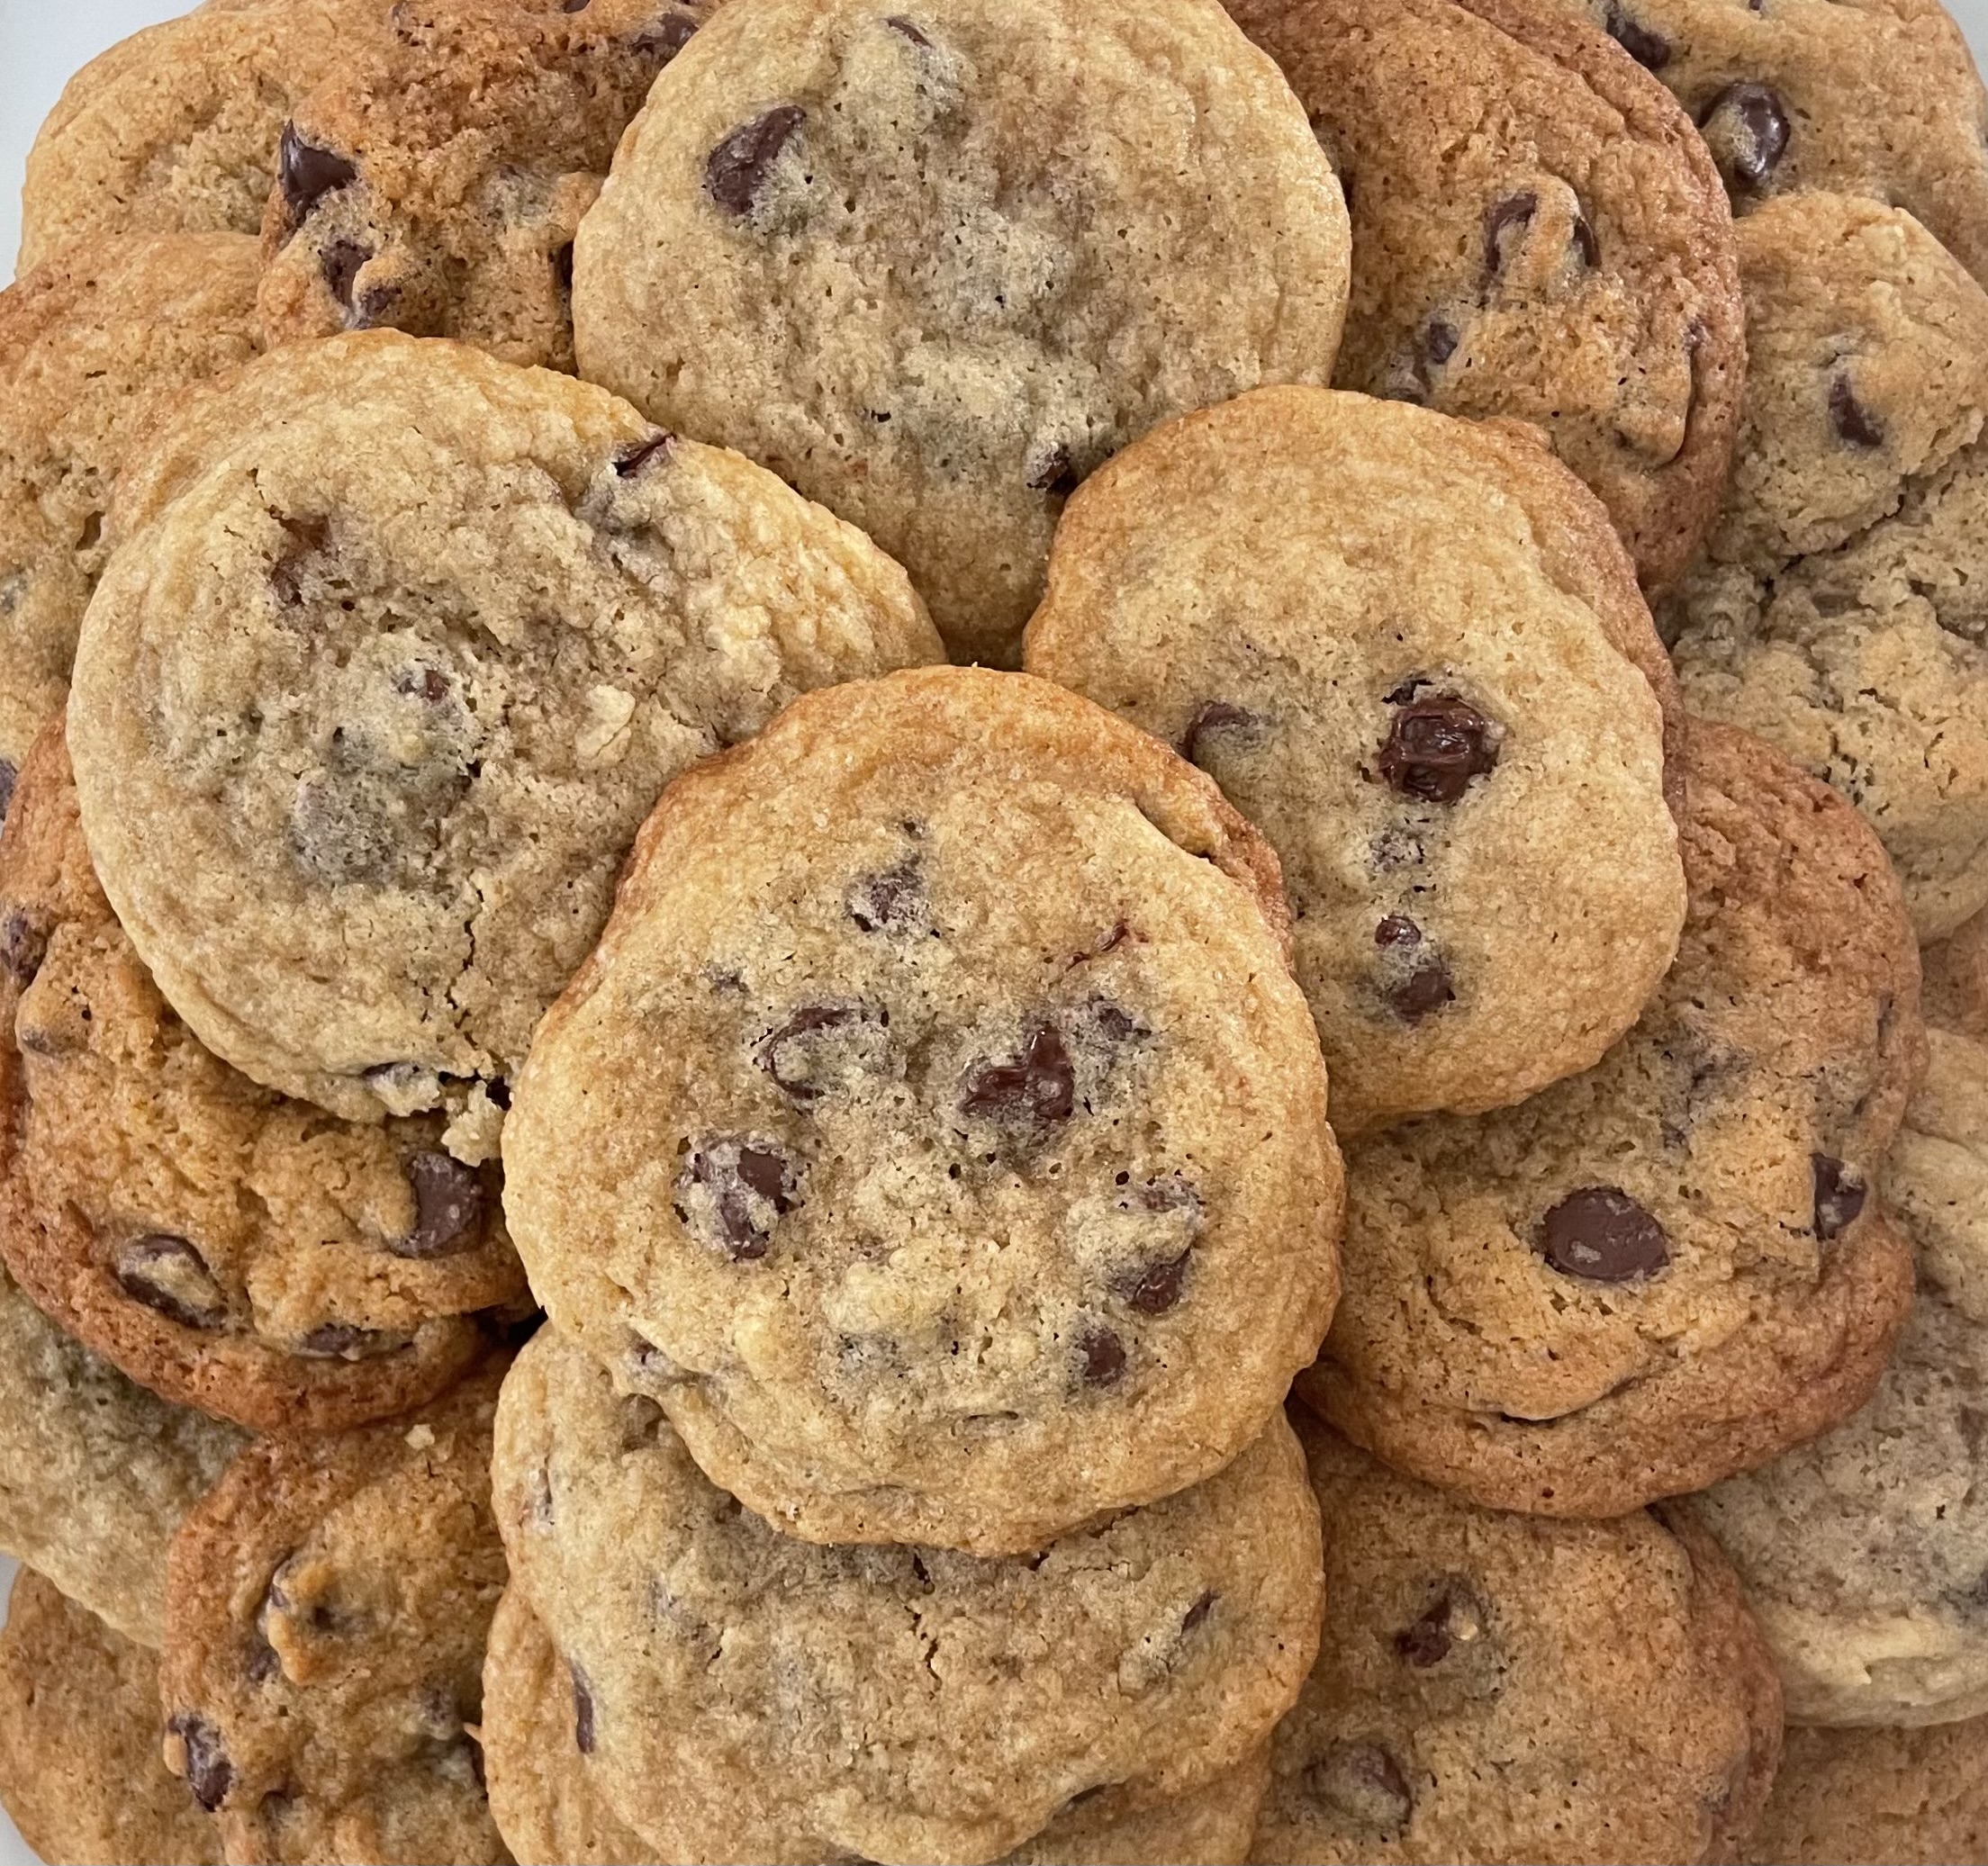
Want a chocolate chip cookie that is sweet, delicious, and melts in your mouth? Try my mom’s chewy chocolate chip cookie recipe!
One of my favorite memories of my mom is of her baking chocolate chip cookies. Everything, from the smell of the pure vanilla extract, to the sound of the chips being poured out of their bag, to the sight of two dozen cookies cooling on the counter, brings back such wonderful memories. I bake these chewy chocolate chip cookies as often as I can. I’m not sure why they are so good, but everyone loves them! There are just a few things we do to enhance the flavor that take it up a notch and make these cookies the best chocolate chip cookies you’ve ever tasted. (You’ll agree.)
My Mom’s Chewy Chocolate Cookie Recipe
First, use quality ingredients–the best you can afford. When I am baking chocolate chip cookies, I look for my favorite brands on sale.
Second, adjust the original recipe (the one on the back of the bag). Sometimes I double the vanilla extract. I add more flour. A sprinkle of instant coffee or espresso powder. Orange peel or chopped walnuts. The possibilities are endless! You can also try any of these additions in my brownie recipe.
Third, my mom always used dark brown sugar rather than light. When I was little, I thought this was the only brown sugar there was, because that’s all she bought. The dark one has more molasses, and a much deeper, richer flavor, resulting an even tastier chocolate chip cookie.

How to make chewy chocolate chip cookies
About half an hour before starting to bake, put your butter into a medium bowl and let it soften. I put mine on the back of the stove or near a sunny window to speed up the process. Softening butter this way, rather than putting it in the microwave, keeps it smooth.
Preheat the oven to 375. Line two cookie sheets with parchment paper or baking mats.
In a large bowl, measure your dry ingredients and stir them together. This would be the flour, baking soda, and salt. Sugar does not count as a dry ingredient. That has always seemed funny to me– I guess it just mixes better with the wet ingredients.
Next, add the sugars to the softened butter and mix together. You can use beaters, a stand mixer, or do it the old-fashioned way– use a wooden spoon! Just make sure the mixture is well-combined and creamy.
Double the vanilla….
Add the vanilla.. two full teaspoons, which is more than most chocolate chip cookie recipes call for.
Next, the eggs. I suggest you beat them in a separate bowl, then add them in. (Do I always do that? No.)
Now is the time for any of those additions mentioned above!
Combine the flour mixture with the butter and egg mixture.
Add your full bag of chocolate chips (I always sneak a few). There are so many different ones now! These are my favorite.
Chill the dough in the refrigerator for fifteen to twenty minutes. You want it to firm up just a little.
Remove the bowl of dough from the refrigerator and scoop out balls of dough with a cookie scoop. Roll the balls between the palms of your hands if you want more perfectly round cookies. Otherwise, just plop them onto your cookie sheet lined with parchment paper or a baking mat. The bigger the pieces you shape the dough into, the longer the cookies will take to bake. However, bigger cookies give you that bakery look. It’s completely up to you!

Bake the cookies at 375 for 8-10 minutes. Always check on your cookies after 7 or 8 minutes, because oven times and temperatures vary.
It’s tempting to pull a fresh-out-of-the-oven cookie off the pan and eat it right away, but don’t do it for two reasons:
- You will burn your mouth, and
- The cookies need to set for a few minutes! Let them cool for a few minutes before eating.

Enjoy a couple of cookies with a tall glass of cold milk! Take these to the next gathering you go to… you’ll be appreciated!!!

My Mom’s Best Chocolate Chip Cookie Recipe
Course: CookiesDifficulty: easy24
servings8
minutesThese delicious cookies are best eaten with a glass of cold milk or a cup of coffee. Enjoy!!
Ingredients
2 sticks (1 cup) softened butter
3/4 cup granulated sugar
3/4 cup dark brown sugar
2 whole eggs
2 teaspoons vanilla extract
2 1/2 cups all-purpose flour
1 teaspoon salt
1 teaspoon baking soda
1 teaspoon instant espresso powder (opt.)
one 10-12 ounce bag chocolate chips
Directions
- In a large bowl, cream butter, sugars, vanilla extract, and eggs together.
- In another bowl, stir together the dry ingredients– flour, salt, baking soda, and optional espresso powder.
- Stir dry ingredients into butter mixture. Add in optional mix-ins: zest of one orange, chopped nuts, etc.
- Add the whole bag of chocolate chips and stir gently.
- Refrigerate the dough for 20-30 minutes. At the end of this time, take the dough out of the refrigerator and preheat the oven to 375°.
- Scoop up the dough into balls with a cookie scoop.
- Place the cookie dough balls on a baking sheet lined with parchment paper or silicone baking mats.
- Using an oven mitt for safety, put the cookie sheets into the oven and bake 8-10 minutes. (Depending on your oven, cookies may require more or less baking time.)
- Cool cookies a few minutes on the baking sheet, then transfer to a wire rack. Enjoy a cookie or two with a tall glass of cold milk!
Notes
- Gluten-free flour can be substituted for all-purpose flour. I love the 1 to 1 varieties, such as King Arthur.
- You can make these into “blondies” by placing the dough in a 13 x 9 pan (grease pan with butter first) and baking at 350 for 20 minutes.
- Chill your cookie sheets and silicone baking mats for a few minutes before putting the cookie dough on them. This will help the cookies set up better.
I didn’t know that about dark brown sugar! Thanks for sharing this yummy recipe!
Yes! The dark brown sugar makes SUCH a difference!
Oh SO yum! 😋 I love the specifics like doubling the vanilla and the gluten free option. Thank you!
I’m so excited that you two are creating together as mother and daughter! Looking forward to more!
Thank you for your support! We appreciate you!!